You’ve got an event to plan and a guest list to manage. The last thing you need is to spend hours figuring out design software or juggling five different apps for invites, RSVPs, and gifts.
Here’s how to create a digital invitation that handles all of it, in about five minutes.
Why use an invitation tool?
Most people don’t send paper invites anymore. They design an image in Canva, send it to a WhatsApp group, and then spend the next three weeks tracking RSVPs in a spreadsheet, answering “what time is it again?” messages, and fielding “what should I bring?” texts.
It works, but it’s a lot of manual effort for something that should be simple.
A proper invitation tool gives you:
- One link with everything. Event details, RSVP form, and gift list in one page. No spreadsheets, no group chat chaos.
- RSVPs that track themselves. You see who’s coming, how many plus-ones, and dietary needs without asking twice.
- Easy updates. Changed the time? Update once, everyone sees it.
- Gift coordination. Guests can see and reserve items so nothing gets duplicated.
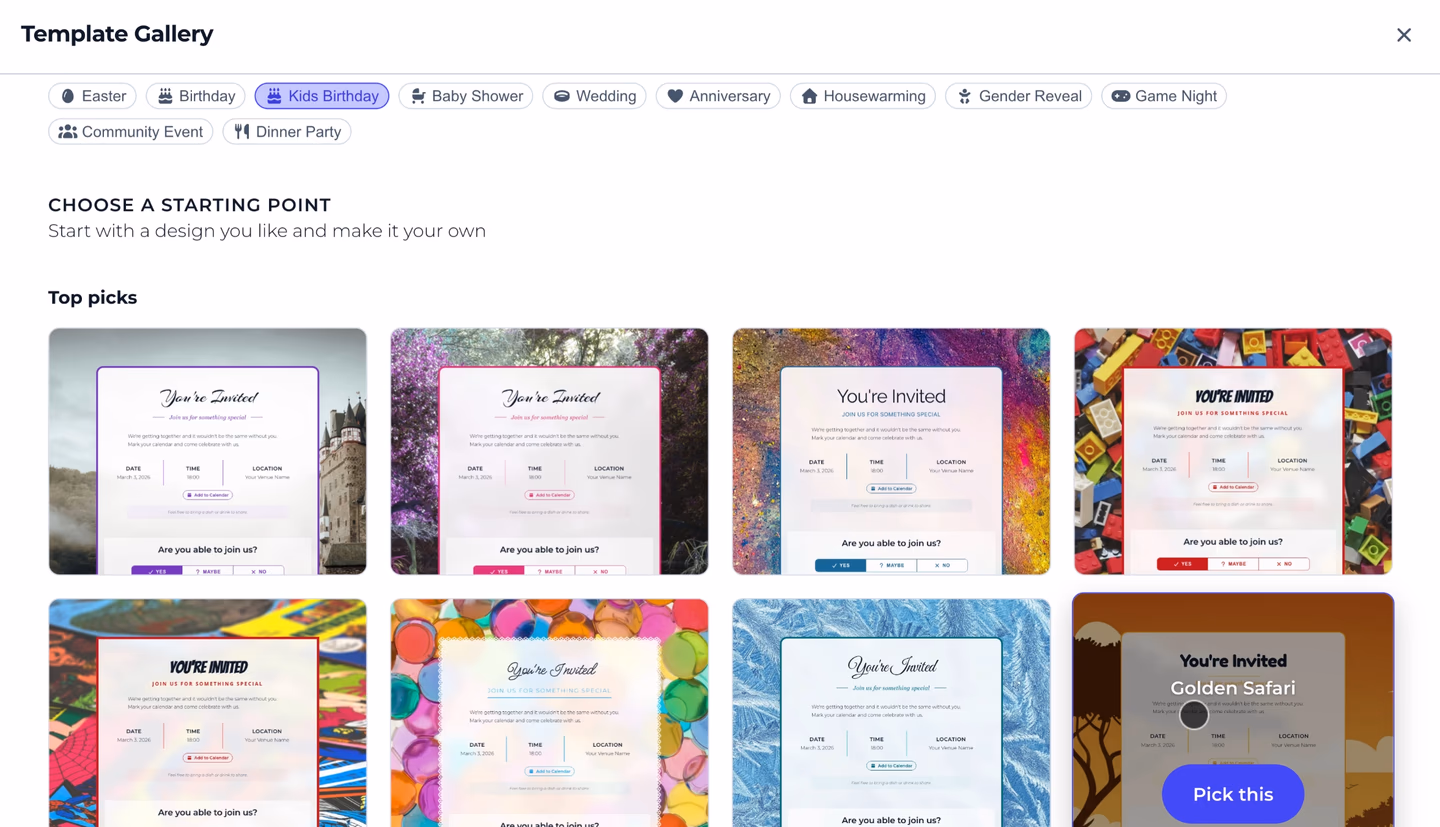
Step 1: Pick a template
Start by choosing a design that fits your event. A birthday invite shouldn’t look like a baby shower, and vice versa.
On Celebrations, we have templates designed for specific occasions: birthdays, baby showers, weddings, housewarmings, and more. Each one comes with curated color and typography combinations, so the design works out of the box.
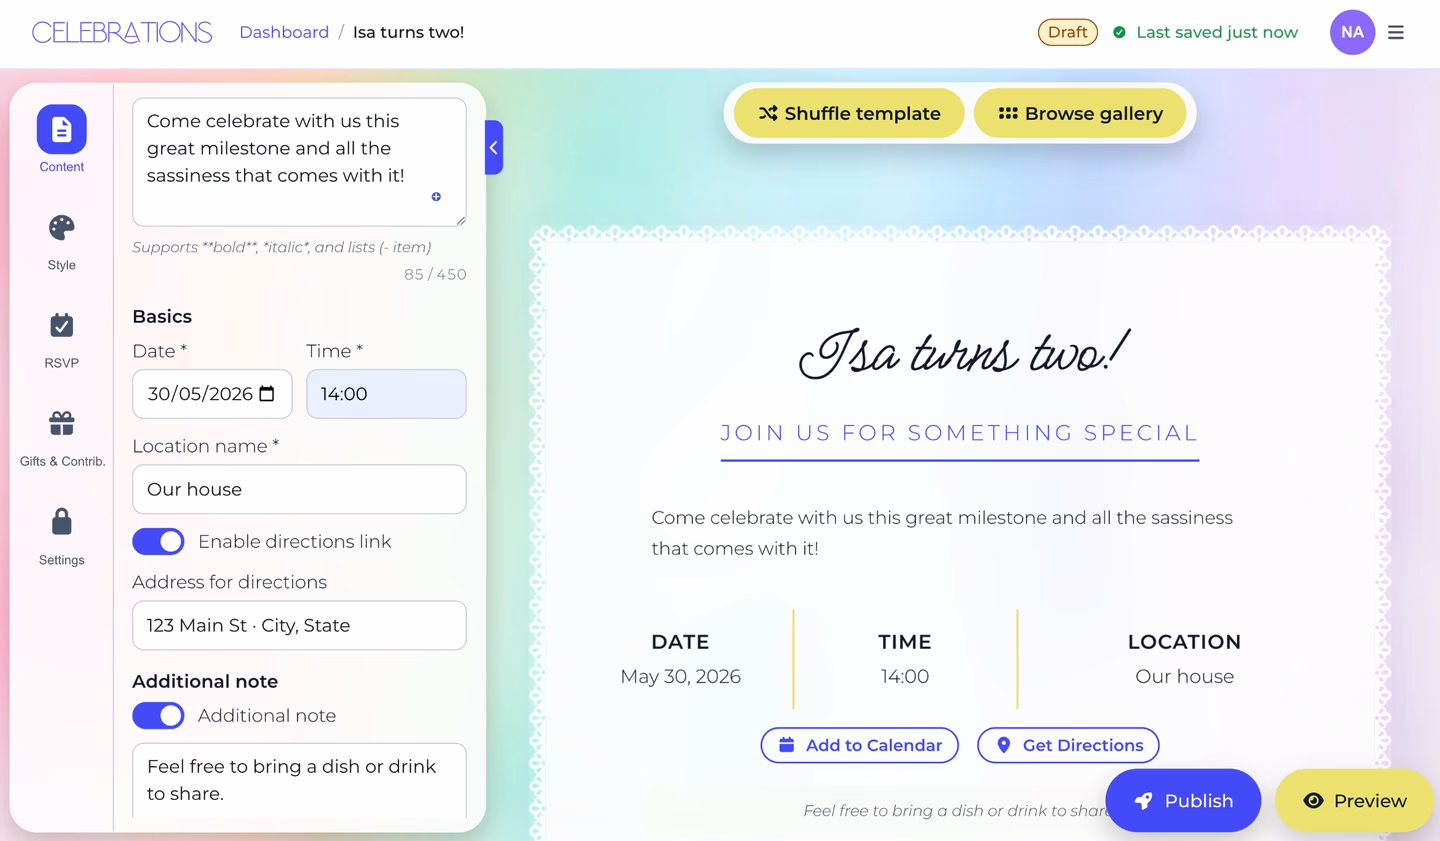
Step 2: Customize your invite
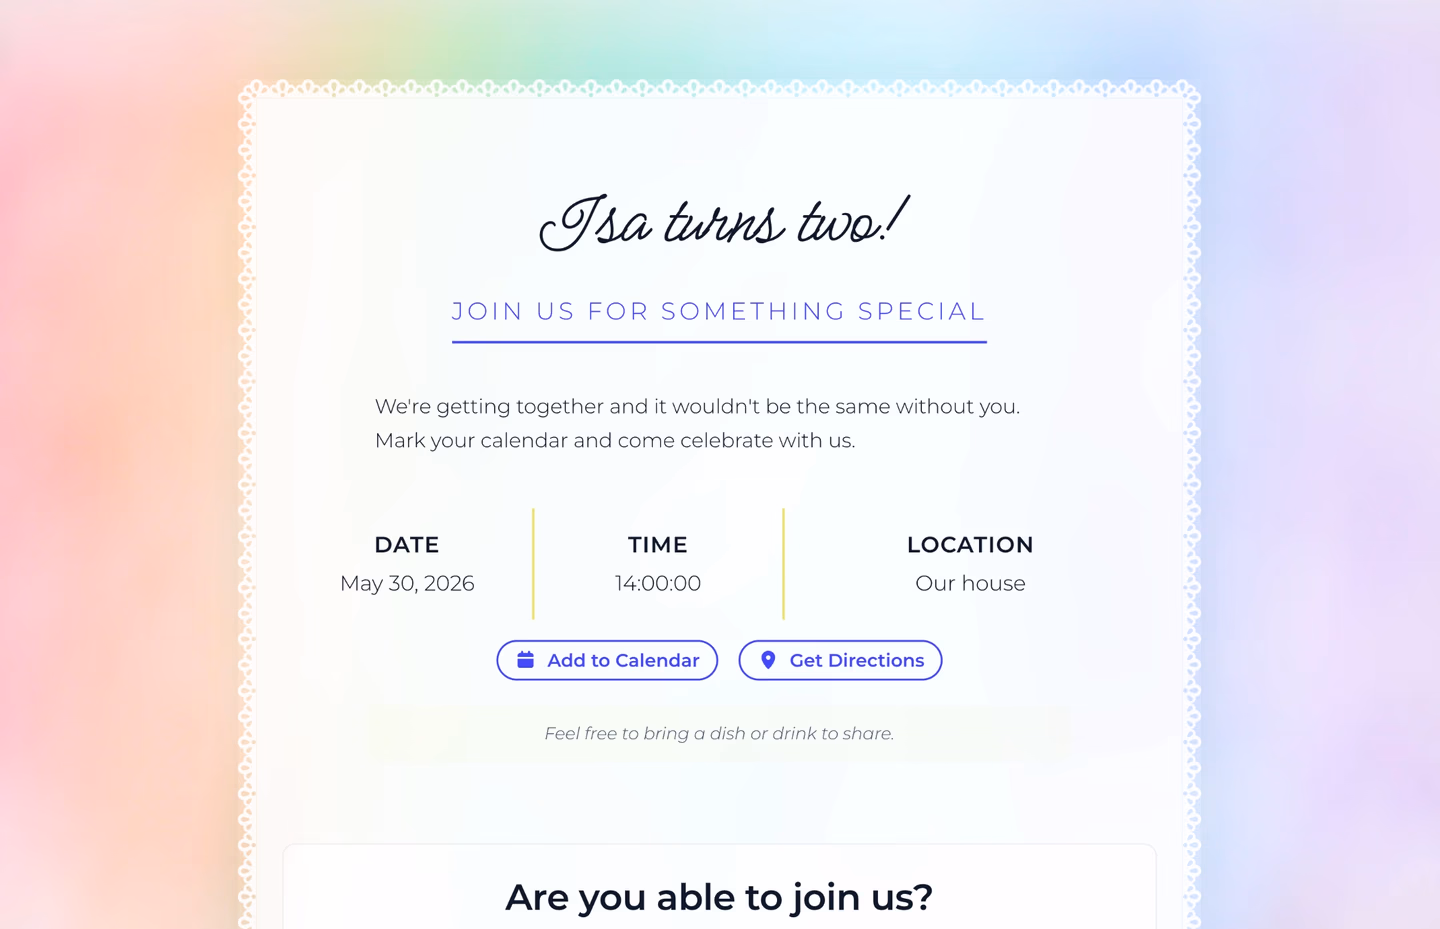
Once you’ve picked a template, make it yours. Add your event details: title, date, time, location, and a personal message. Adjust the style if you want, swap colors, change the typography, or upload a background image.
You don’t need design skills. The templates are built so that any color and font combination looks good together.
Step 3: Set up RSVPs and gifts
This is where digital invitations really shine. Instead of collecting responses through a dozen text threads, your guests RSVP directly on the invite page.
You can configure plus-ones, dietary preferences, personal messages, and an RSVP deadline, all from the same editor.
And the gift list lives right on the invite too. Add items with optional links and descriptions, and guests can reserve them so nobody shows up with the same gift. You can also use it to coordinate who’s bringing what. Drinks, snacks, plates, decorations. Anything you’d normally organize in a group chat, you can put on the list.
Step 4: Share it
Once everything looks right, publish your event and share the link. One link that gives your guests the invite, RSVP form, and gift list all in one page.
A few tips on sharing:
- Pick one channel. Send via WhatsApp, iMessage, or email, whichever your guests actually check. Don’t blast all three.
- Test it first. Open the link on your phone before sending. Make sure everything looks right.
- Send 4-6 weeks early for bigger events. For casual get-togethers, 2 weeks is fine.
After you share the link, you can check your dashboard to see who’s responded, how many plus-ones to expect, and which gifts have been reserved. No spreadsheet required.
That’s it
Four steps, five minutes. Your guests get a clean event page with everything they need, and you get to stop chasing RSVPs in group chats.
Create your invitation on Celebrations. It’s free, no account needed for your guests, and no ads on your invite.